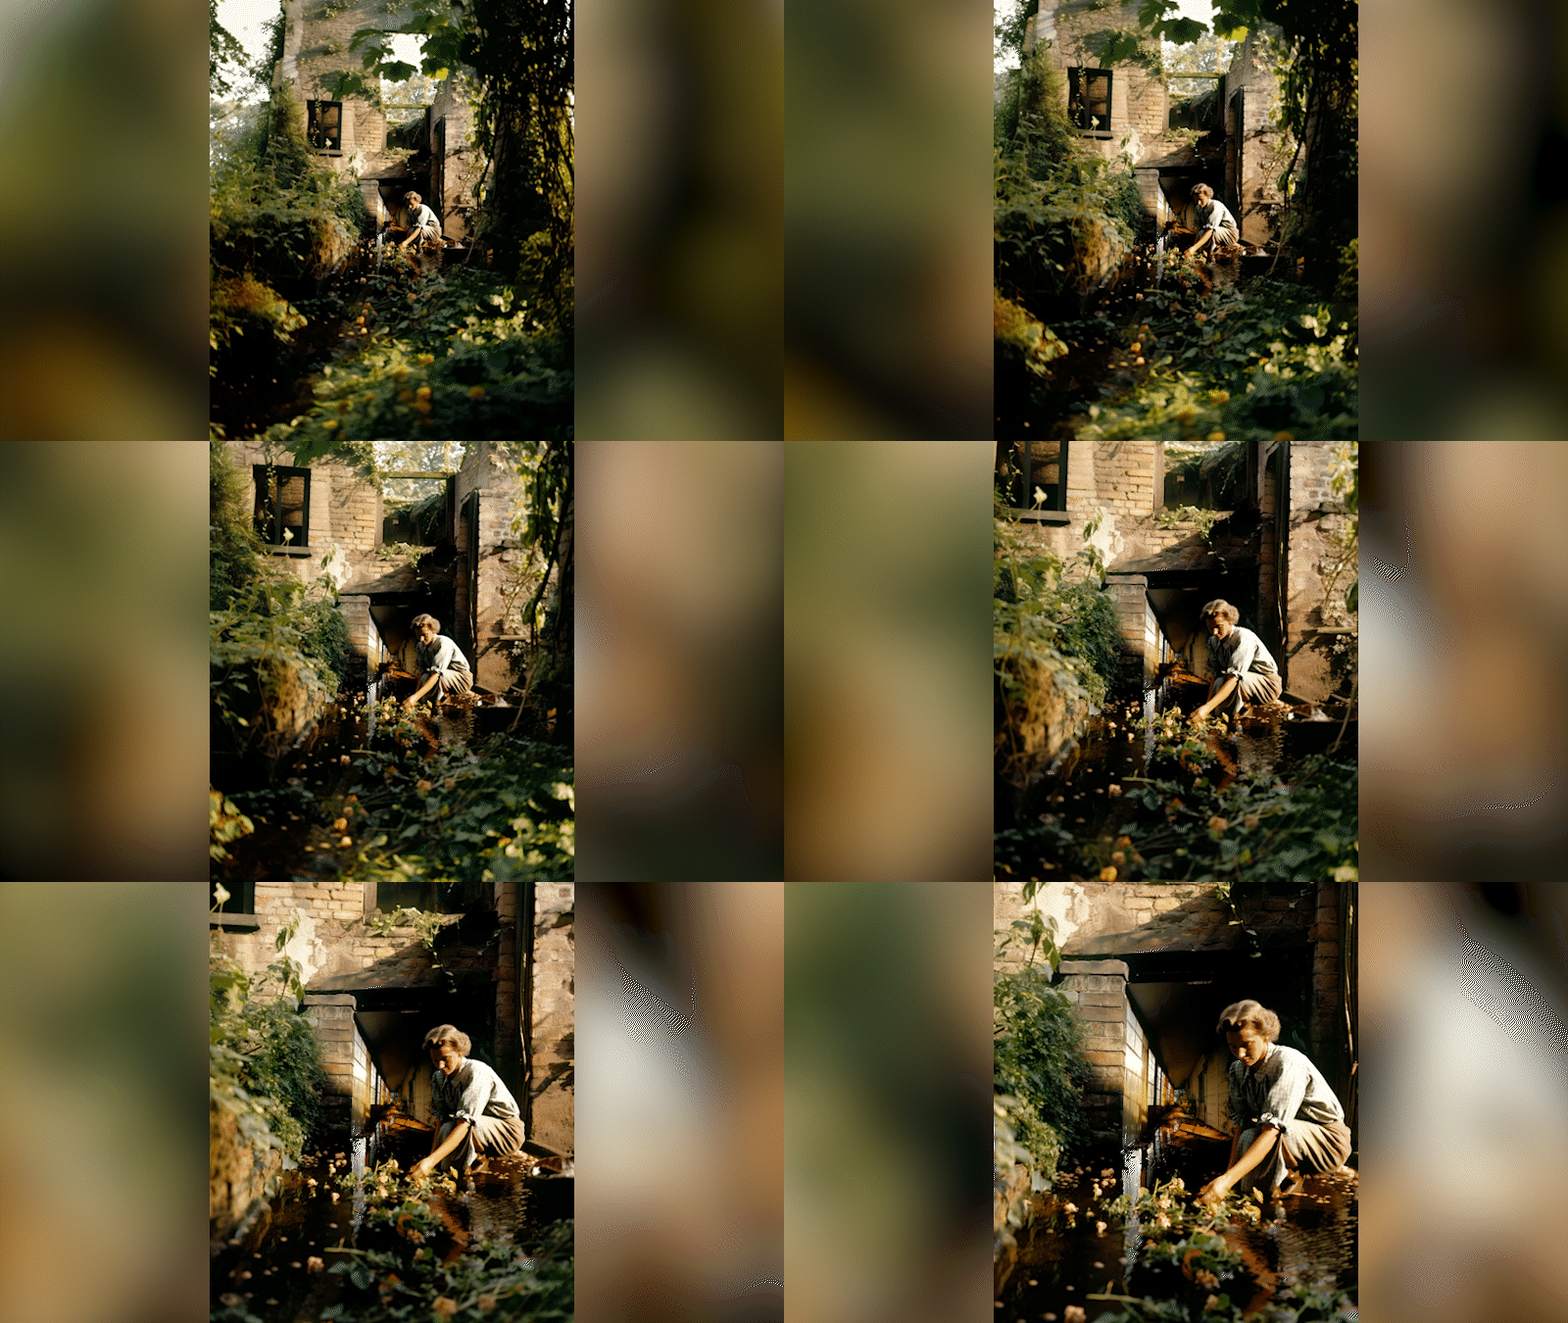
Hey there, Julian here. I'm going to show you how to create smooth, cinematic video zooms using the latest Midjourney version 5.2 Zoom feature.
Unleashing the Power of the “Custom Zoom”
Custom Zoom of Midjourney v5.2
The newest version of Mid Journey presents the 'Zoom Out' feature as four new buttons. The 2x, the 1.5x, the custom zoom, and the 'make square' button. In this tutorial we'll focus on 'Custom Zoom'.
Crafting Your Masterpiece
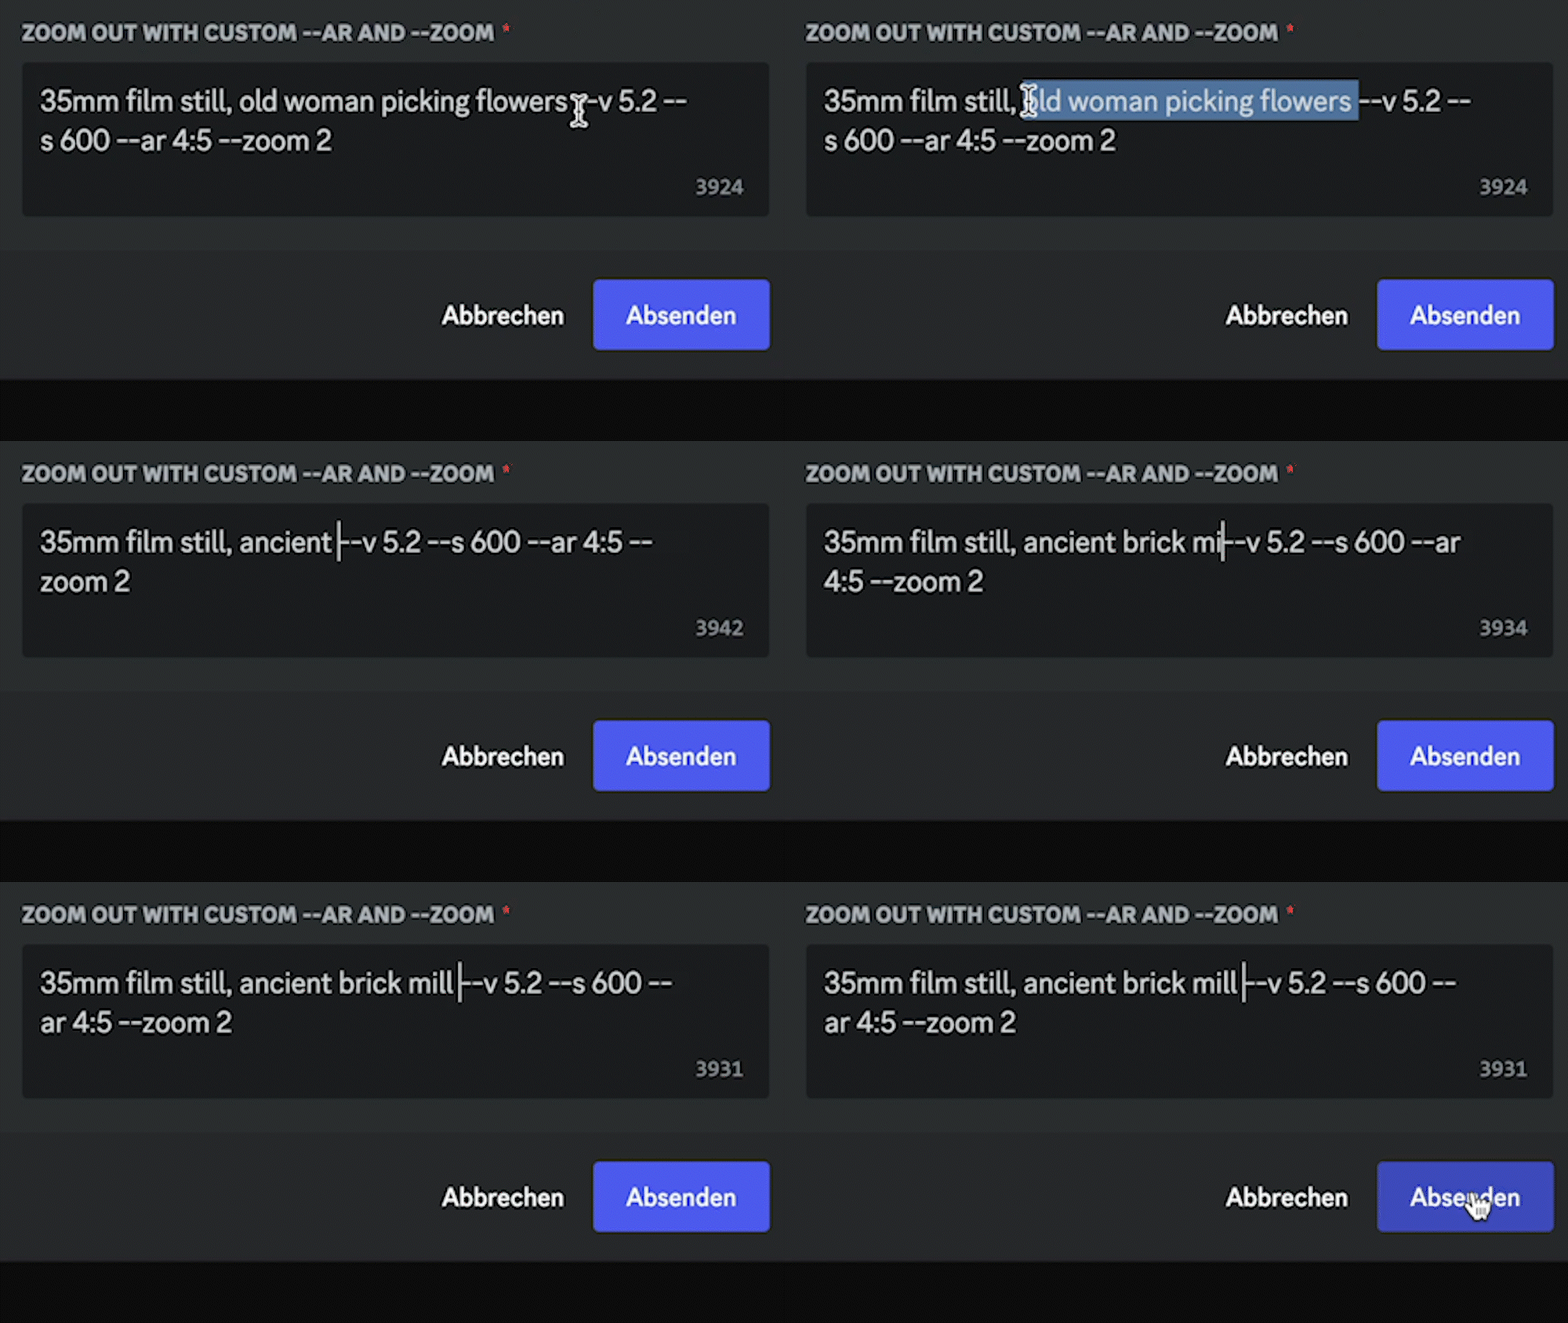
You need an image to start, so chose any prompt you like, and upscale one of the four images offered. You then repeat this step, always opting for the custom Zoom, which lets you edit the prompts. Leave the zoom factor a 2.
The zoom feature is Midjourney’s version of “outpainting”, and “custom zoom” allows you to tweak the results of the zoomed out images. It adds elements not present in the original image, and you have (at least a little bit) of control over what kind of elements you will see.
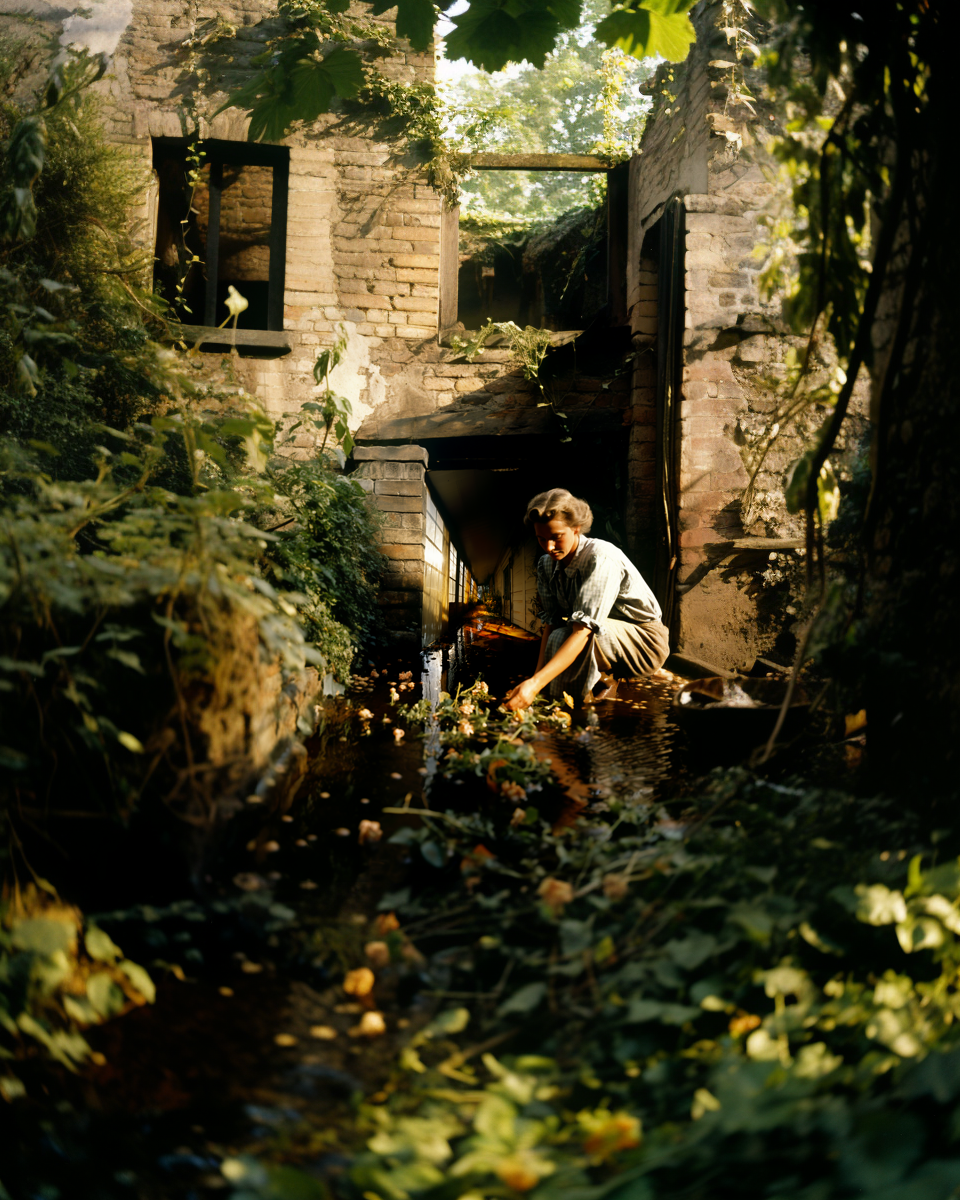
For instance, let's say we have an image of a woman picking flowers, and we want to place her in front of an ancient brick mill. The custom Zoom feature allows us to do just that.
original image
zoomed out image
Building Your Image Collection
You will need to repeat this process a couple of times to create a bank of images for your final Zoom. Don't worry if this sounds repetitive; you can modify the prompt as you go along or leave it the same to explore different outputs from Midjourney. Always ensure that you're using the custom Zoom with a consistent Zoom Factor of 2.
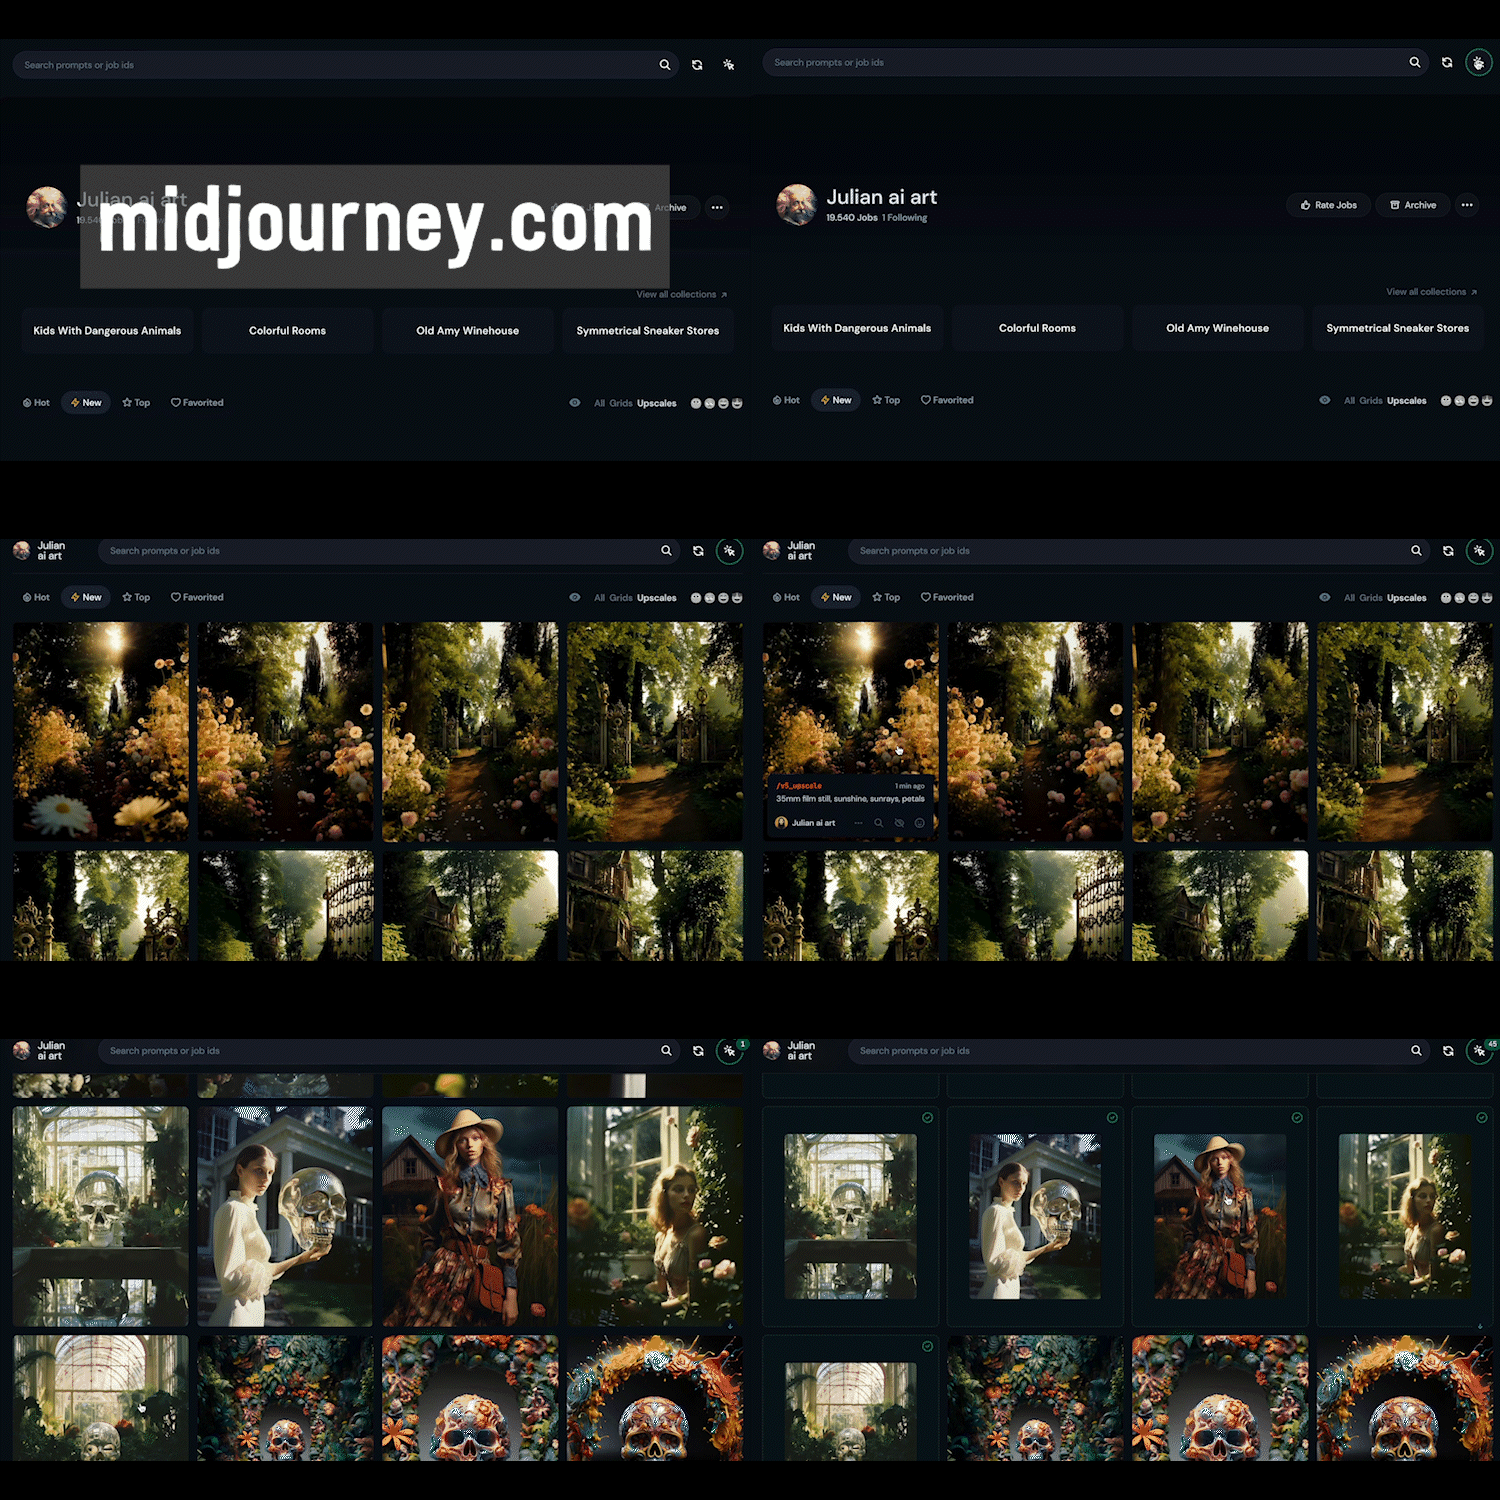
After a few rounds, you'll have an array of images (around 20 to 25 in my case). To view and manage these, head over to midjourney.com, and go to your account. Select all your created images using the 'select' tool, download them to your hard drive, and unzip the files.
From Images to Smooth Zoom Videos
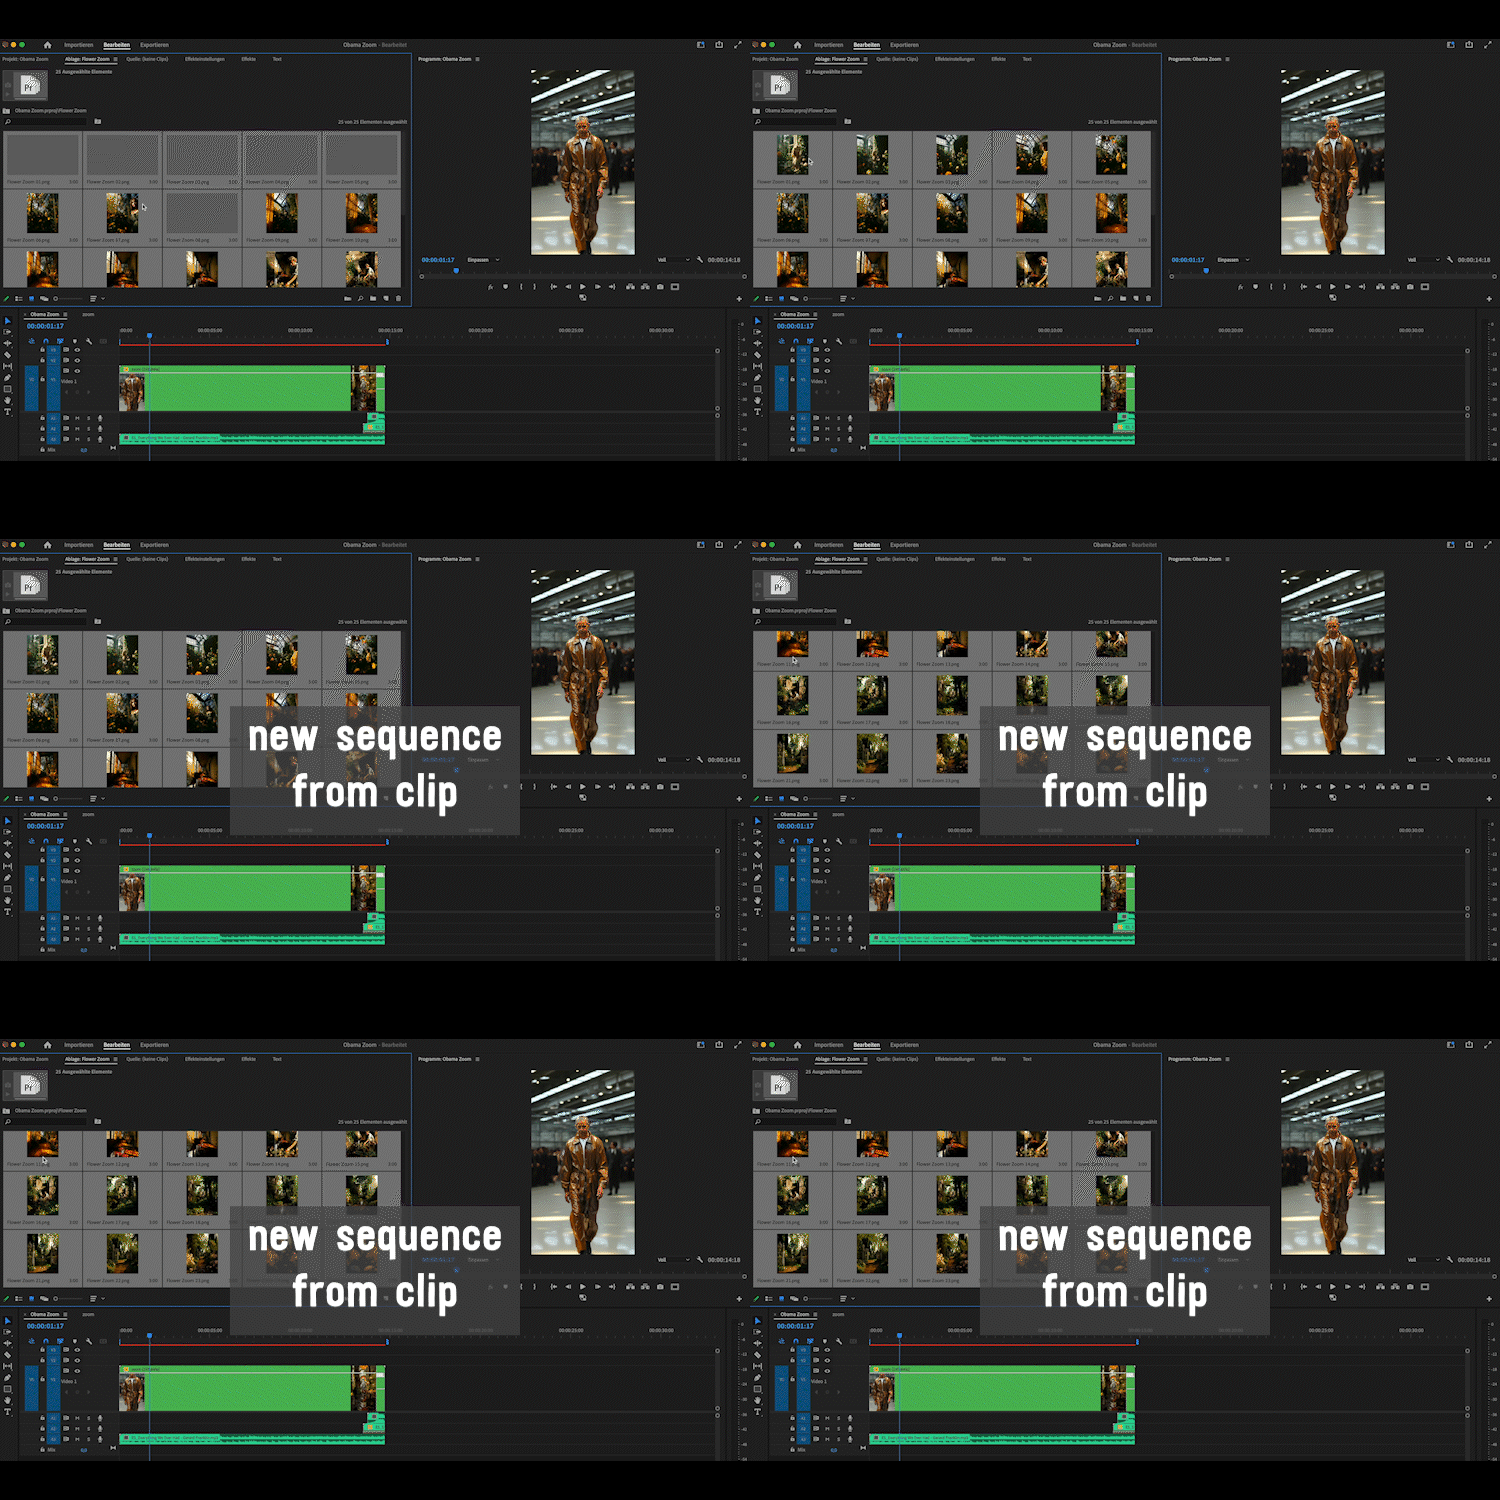
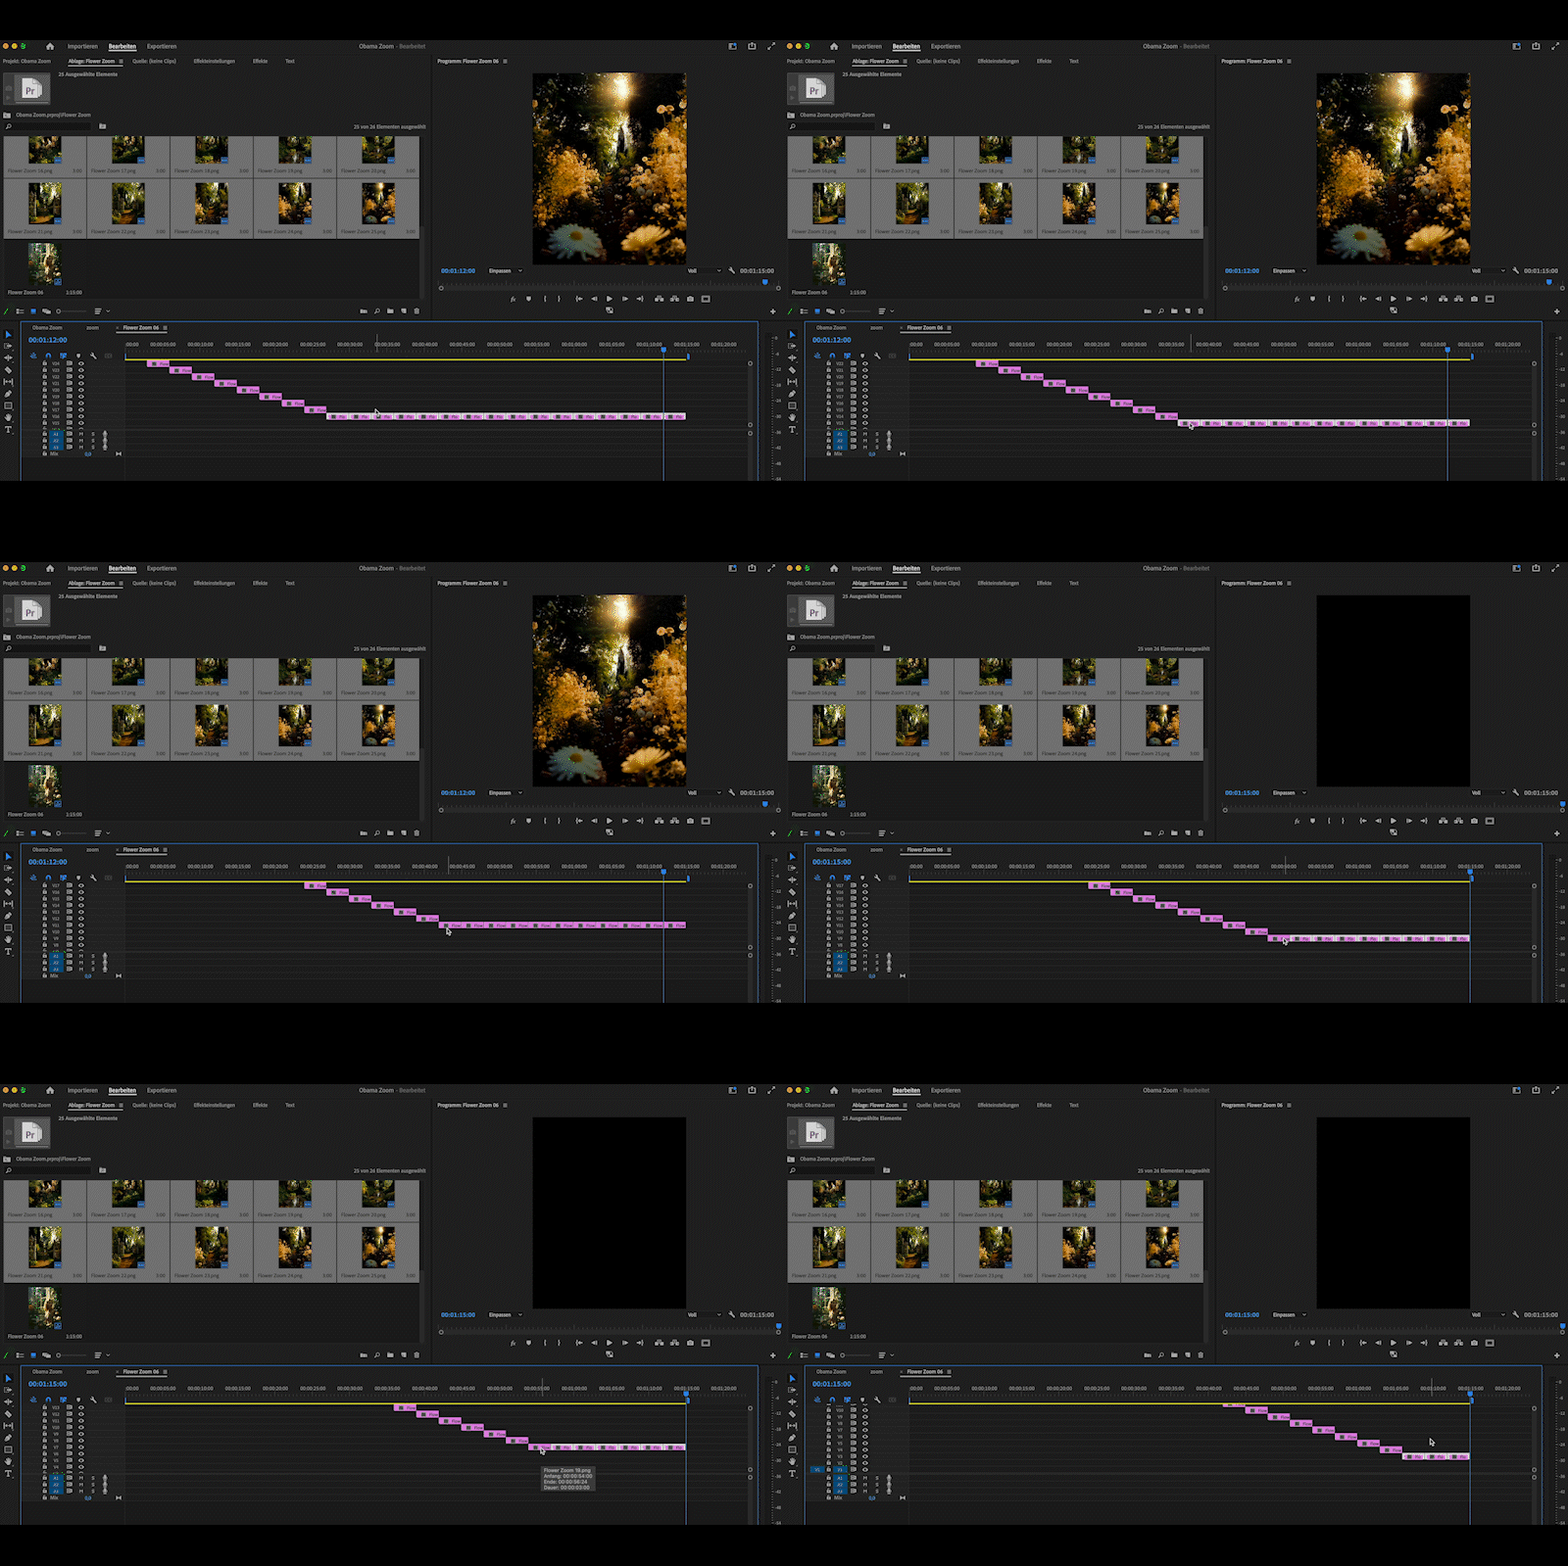
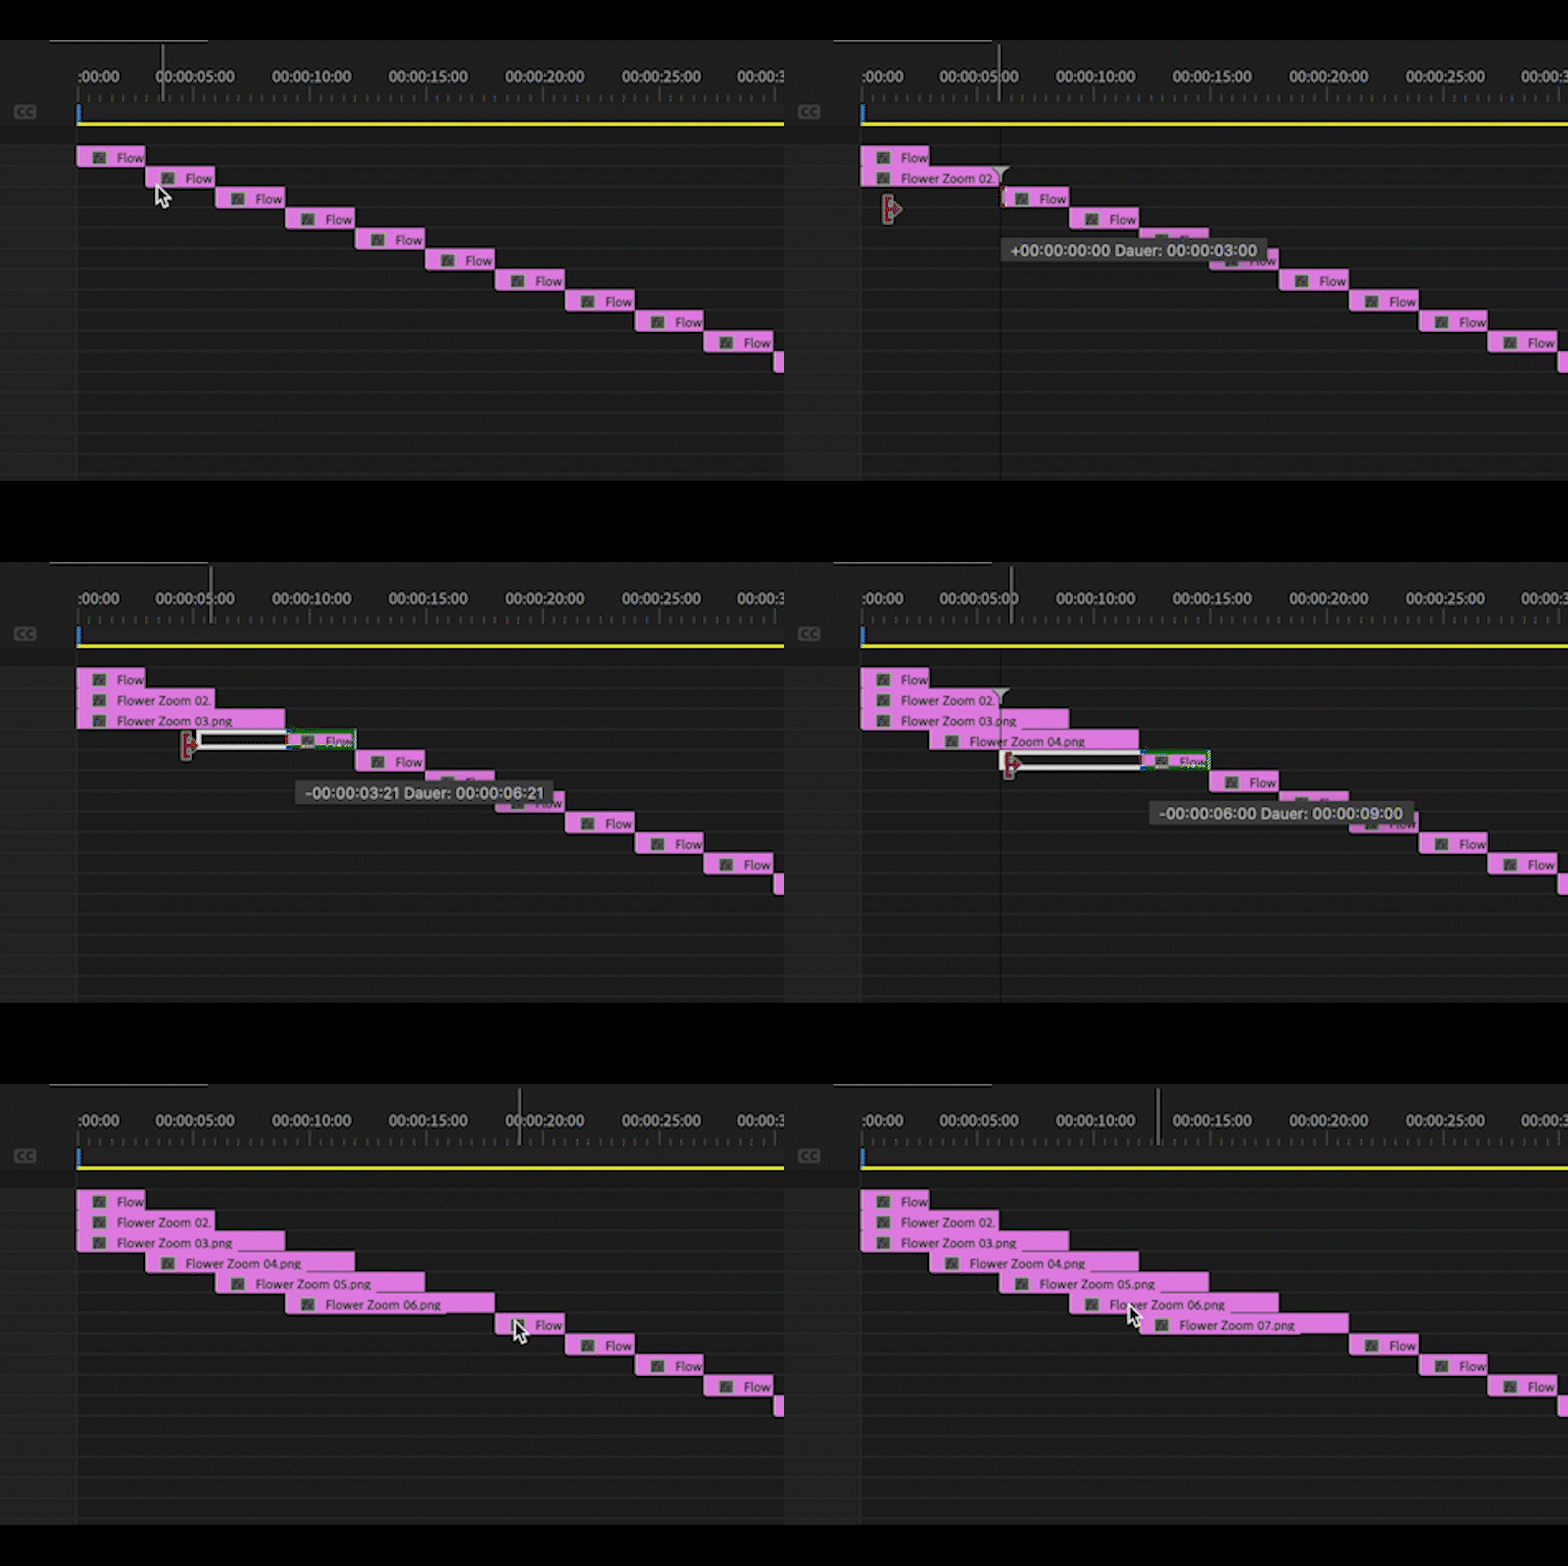
Now, it's time to transform your images into a video. Import your images into Premiere and create a new sequence from the clips. Arrange them in the right order and then stack the images using the Alt and up arrow keys to move the different clips. This results in a stair-like structure in your sequence.
Extend the length of each image layer - Mac users can hold down the command button to extend all the images simultaneously. You should end up with a 'staircase' of images ready for keyframing.
Crafting the Perfect Zoom
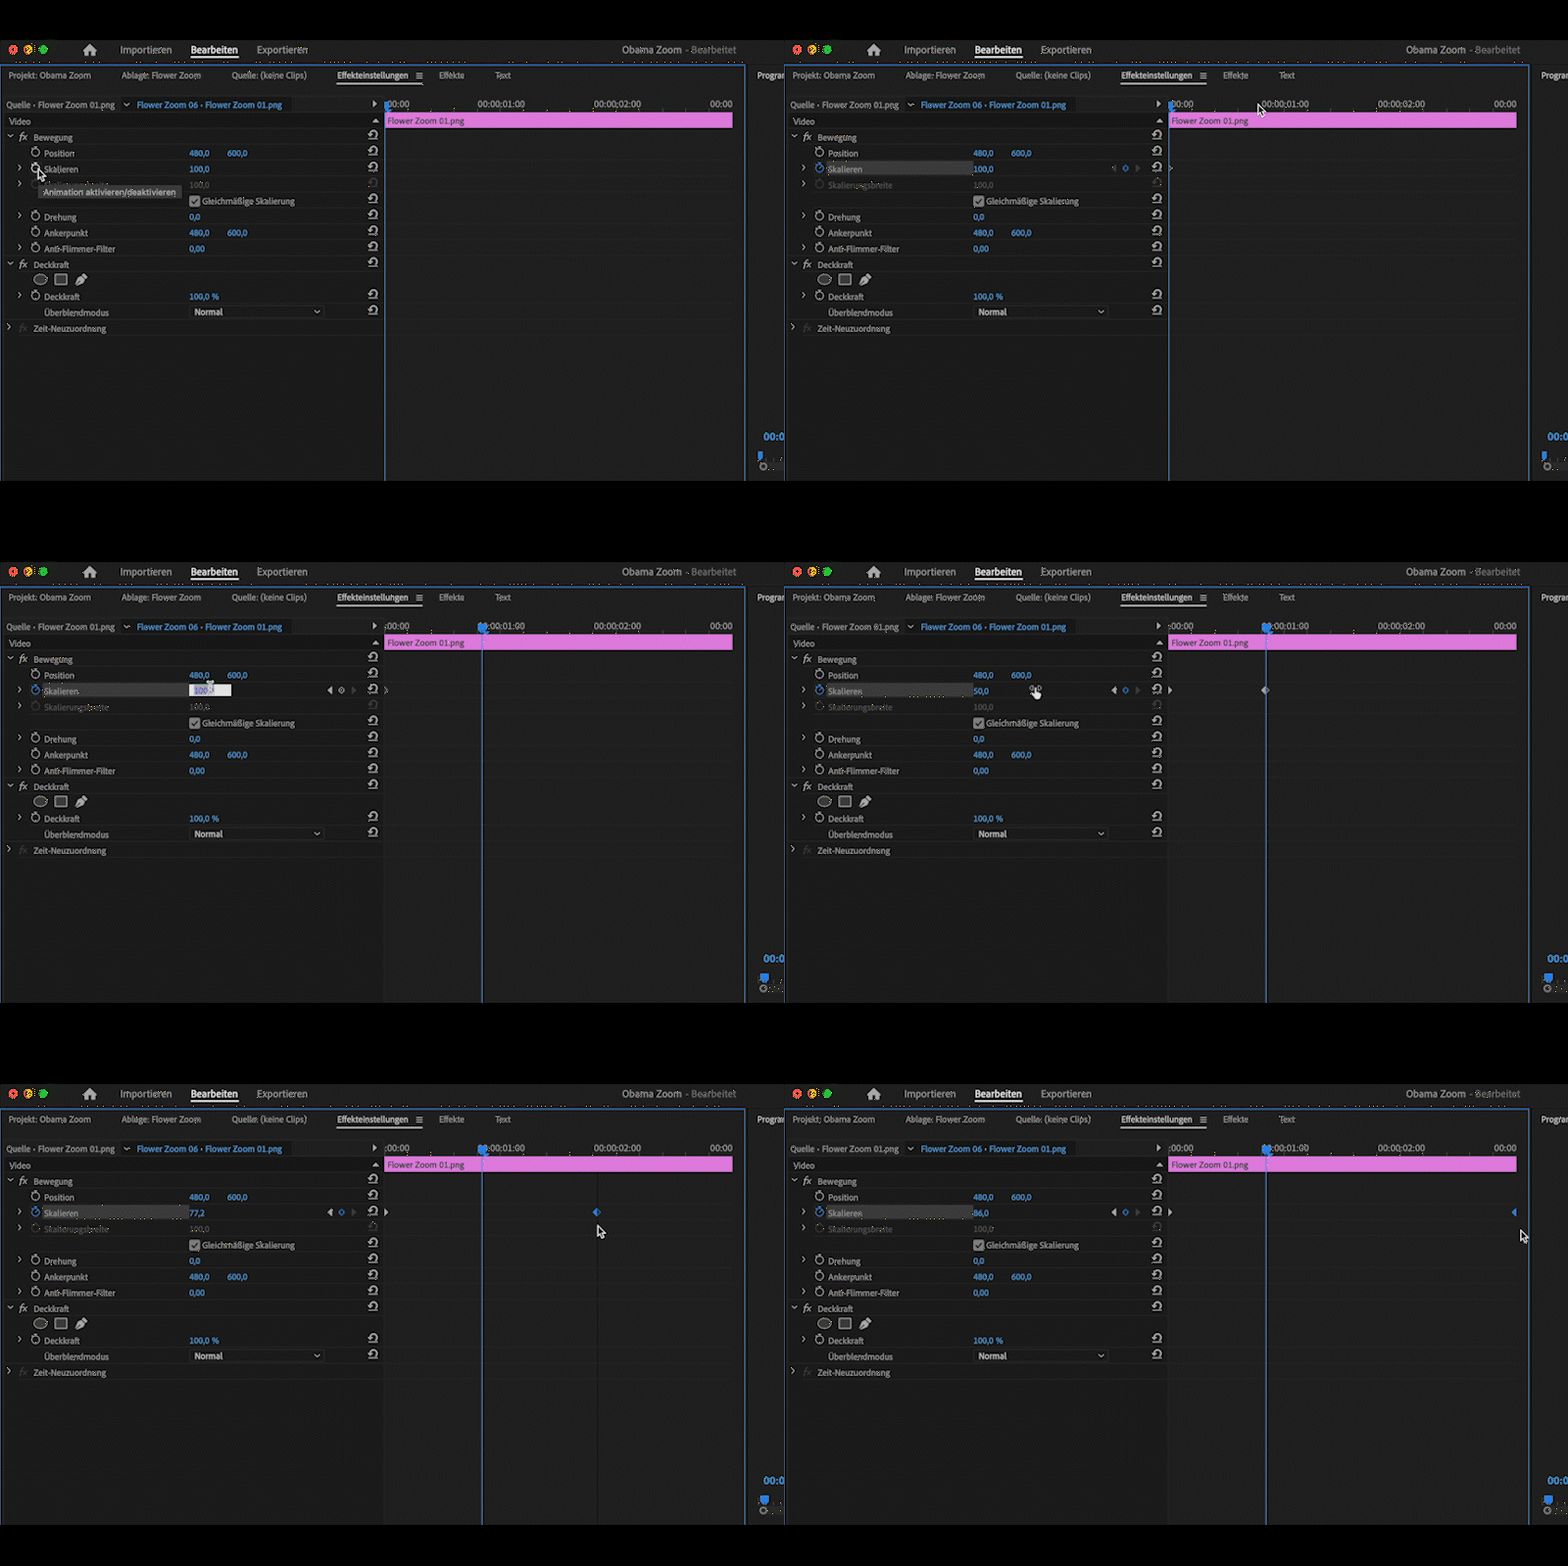
Begin by selecting the first layer and scale it from 100% to 50%, creating a keyframe at the beginning and the end. Apply a cropping effect to each side of the images (around 5%) and feather the crop effect (10 is a good starting value).
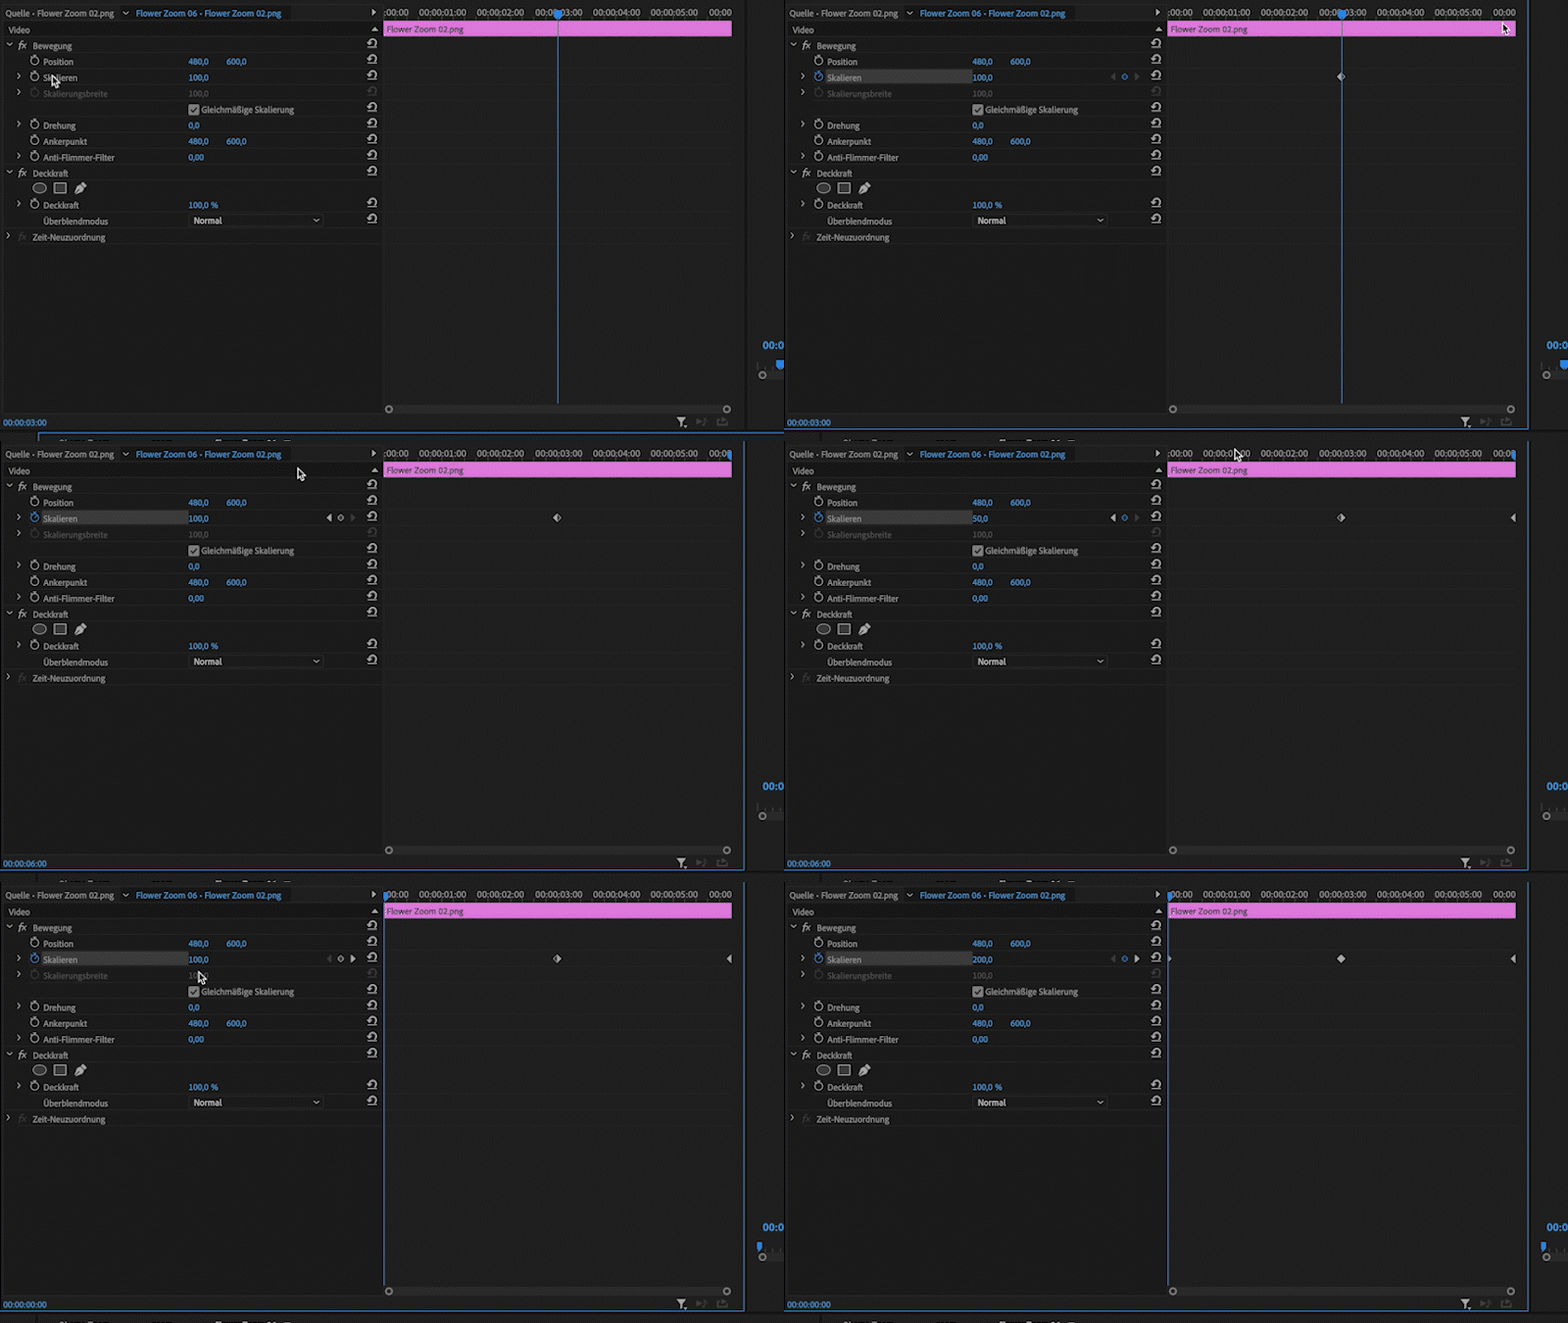
The secret to the perfect zoom lies in scaling your images. You want a consistent speed, so you'll need to double the scaling rate: the first image goes from 100 to 50, the second from 200 to 100 to 50, and so on. Once you have your scaling perfect, copy the crop effect from the first layer to all other layers.
First image scales from 100% to 50%
Scaling
1st image should scale from 100% to 50%
2nd image from 200% to 100% to 50%
3rd image from 400% to 200% to 100% to 50%
4th to last image also goes from 400% to 200% to 100% to 50%
Second images scales from 200% to 100% to 50%, and so on…
You'll notice that there might be some borders in the last image. You can delete the crop effect and trim the image to fix this. To control the speed of the zoom, nest the clips. Select all the layers, right-click, and choose 'nesting'.
Finishing Touches
With the zoom and speed perfected, you can clean up your timeline by deleting any empty layers. Use the speed controls to reverse, speed up, or slow down the zoom effect. And voila - you've created a smooth Zoom video!
The Art of Storytelling
Once you've mastered this technique, imagine the storytelling possibilities. Whether it's integrating text, a voiceover narrating different steps, or a historical narrative of a woman picking flowers a thousand years ago, there are numerous creative ways to leverage this technique.
Final Thoughts
I understand that this might seem daunting at first, but remember that you can always pause and revisit this guide as needed. If you find this tutorial useful you can follow me on Youtube.


